Free Origami Paper Airplane Templates
Origami Paper Airplane: What Is It?
The Japanese skill of paper folding can be used to create a special variety of paper airplanes known as an Origami Paper Airplane . Such airplanes are built utilizing a sequence of sophisticated bends that demand a lot of precision and a high degree of accuracy, as opposed to conventional paper airplanes, which are constructed by quickly folding a piece of paper in a couple of easy steps.
Alternate Name:
- Origami Airplane.
There is no particular sort of paper that needs to be used to make origami, however the ideal type to use is a thinner, lighter sheet that is simple to bend. Origami paper, a squared piece of paper created especially for origami, remains the most popular type of paper for creating such masterpieces.
Even when it comes to creating an easy Origami Paper Airplane, it may be challenging to do so without a proper set of Origami Paper Airplane instructions because most often, people experience problems with folding during their first time.
Yet, making your handmade airplanes, which can be accomplished in a number of shapes and sizes, may be entertaining and a brilliant way to spend time. You may make your own distinctive designs that will effortlessly soar in the air with a little bit of time and experience.
For a full list of Origami Paper Airplane templates please feel free to check out our library below.
How to Make an Origami Paper Airplane?
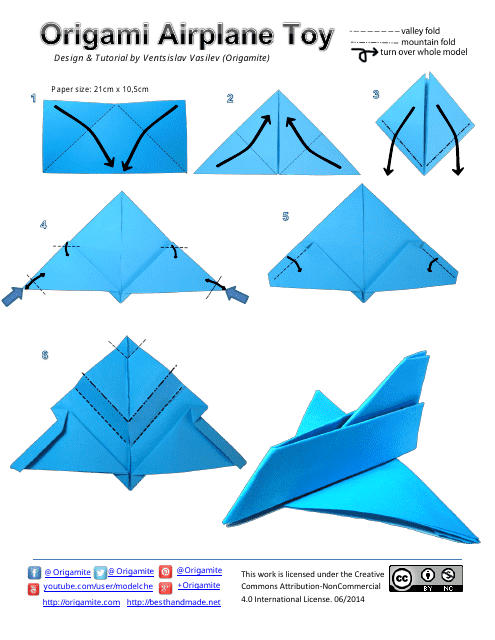
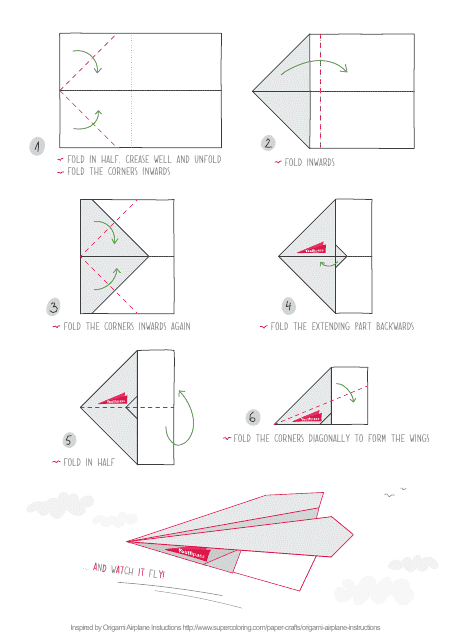
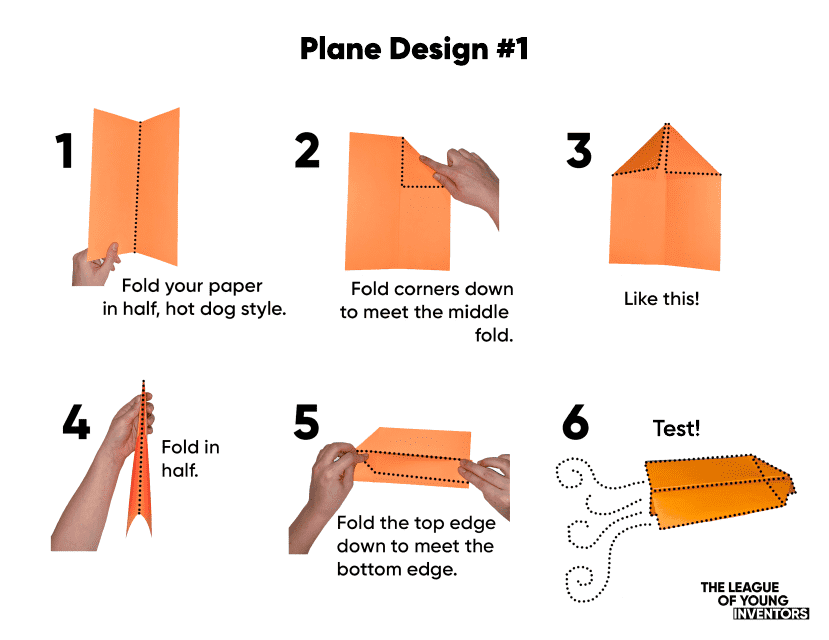
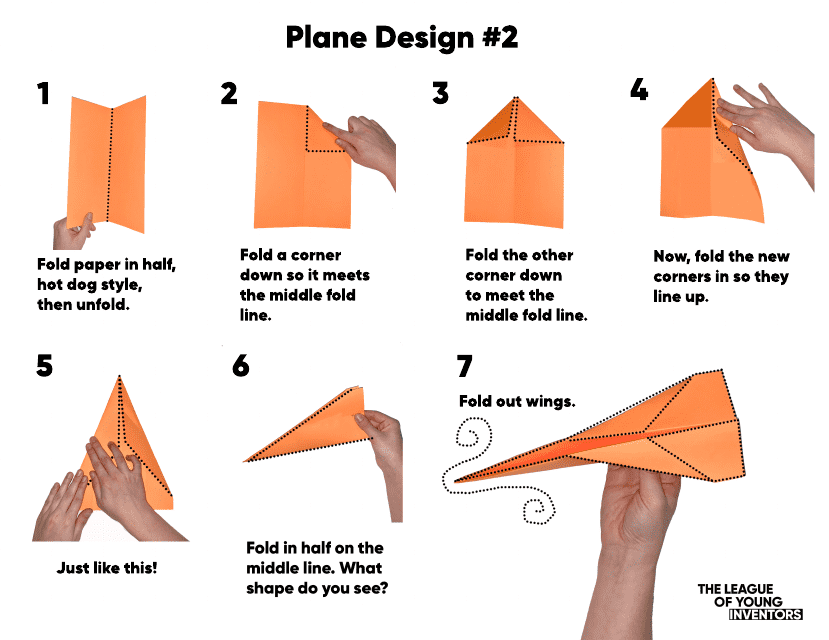
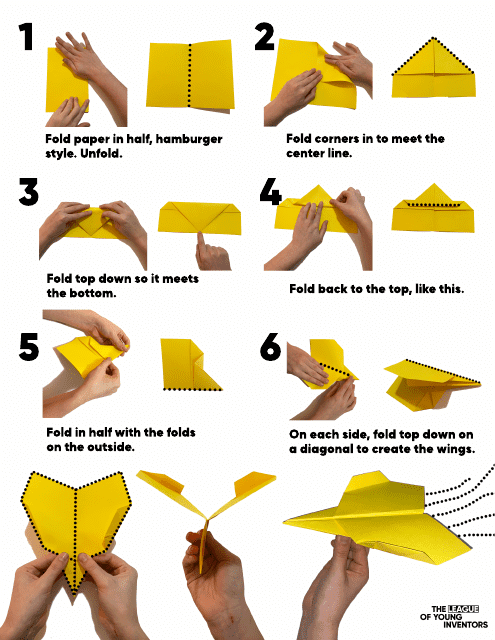
You can easily transform a sheet of paper into an incredible aircraft that soars into the skies by following a few straightforward steps. Here's a guide on how to create the best Origami Paper Airplane:
-
Begin by using a squared paper. If you are struggling to find a paper with this shape, you can make it yourself by using a rectangular shaped piece and folding it in half, before cutting it to create a square;
-
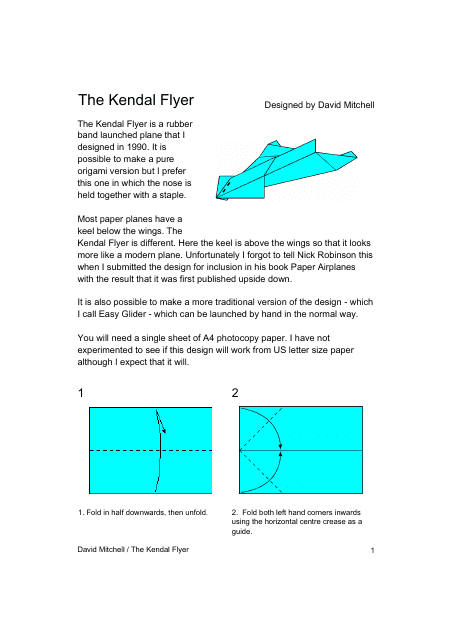
Bend the sheet into halves, crease it, and then open it up again;
-
Bend the top two corners of the sheet downwards to the middle crease and the folds that form need to be creased;
-
Bend the top of the sheet downwards to the bottom corners you have just folded again, creasing the fold;
-
Fold the sheet into halves along the crease that runs along the middle, so that the top of the corner is now on the outside;
-
Carefully bend the wings down along the creases where the corners meet the middle fold and crease them;
-
Once more, bend the wings down along the outside, so that the crease is adjacent to the bottom of the plane;
-
To finish, fold the wings up along the outside, so that they are perpendicular to the body of the plane and once more crease the folds.
And voila! You have made an origami paper airplane. It's time to test its range at this point. Holding it at the bottom, gently toss it. If necessary, modify the wings to enable the aircraft to fly straighter or further.
Haven't found the template you're looking for? Take a look at the related templates below:
Documents:
33
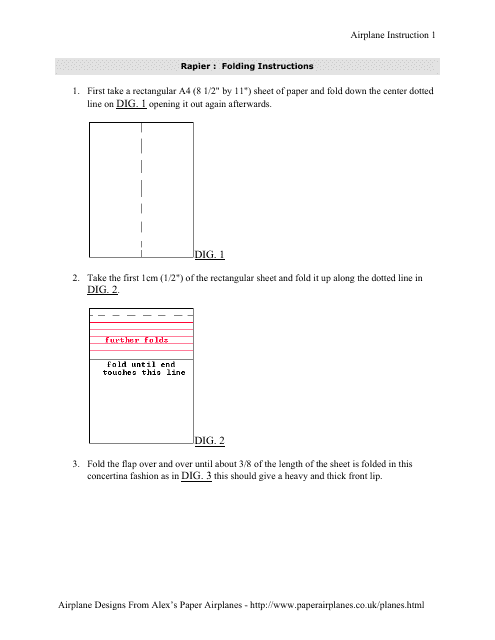
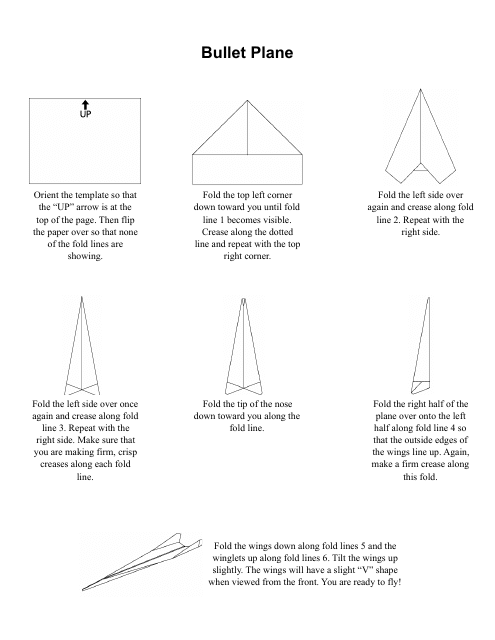
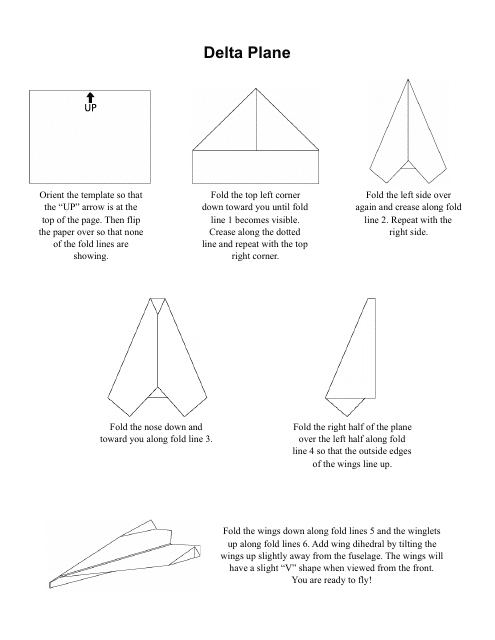
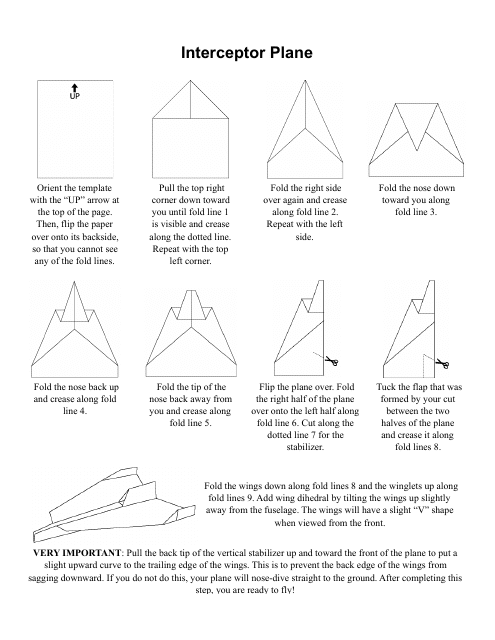
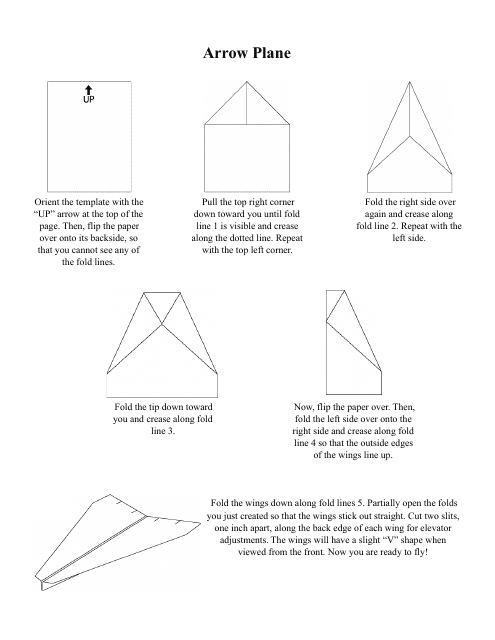
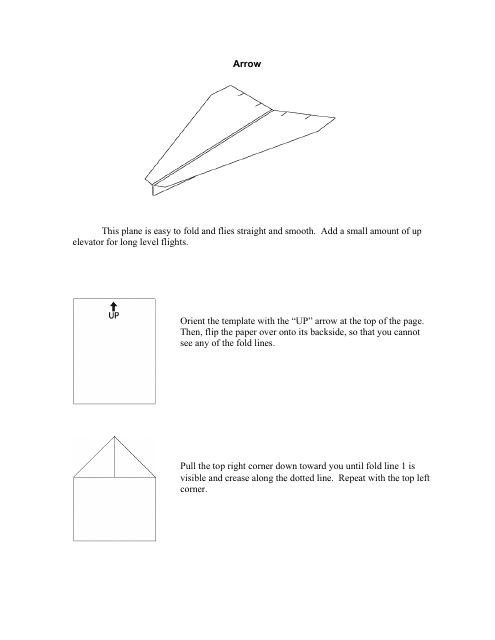
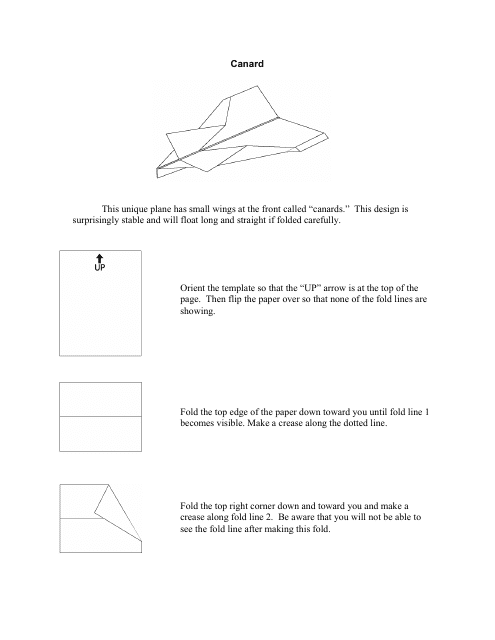
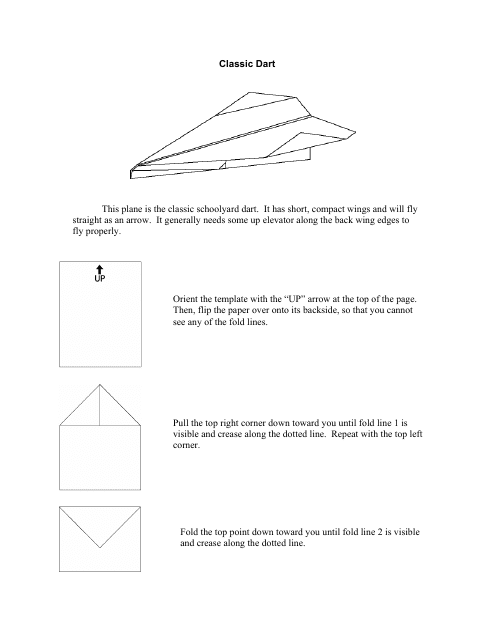
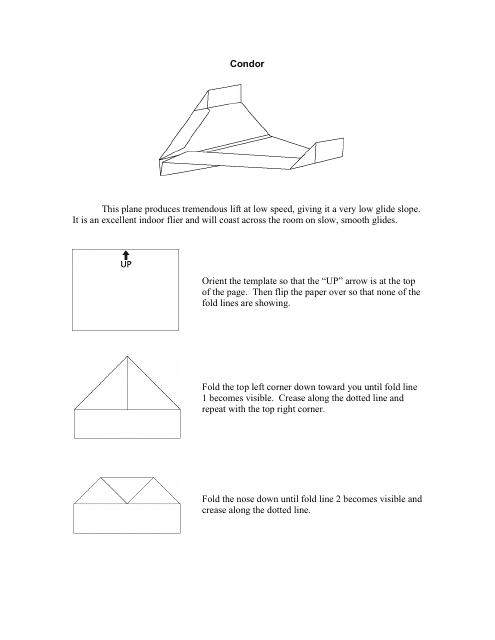
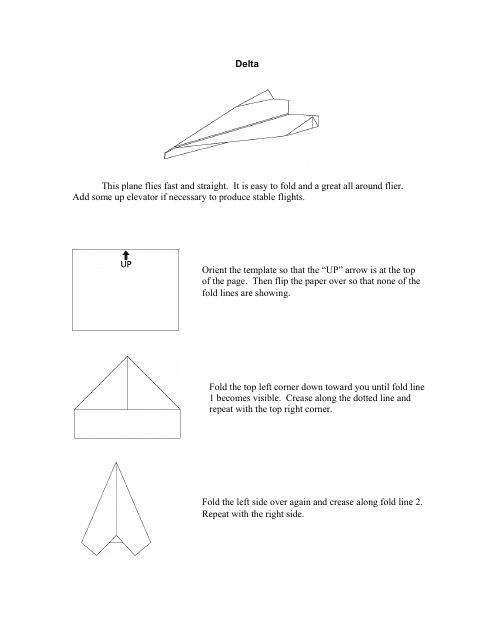
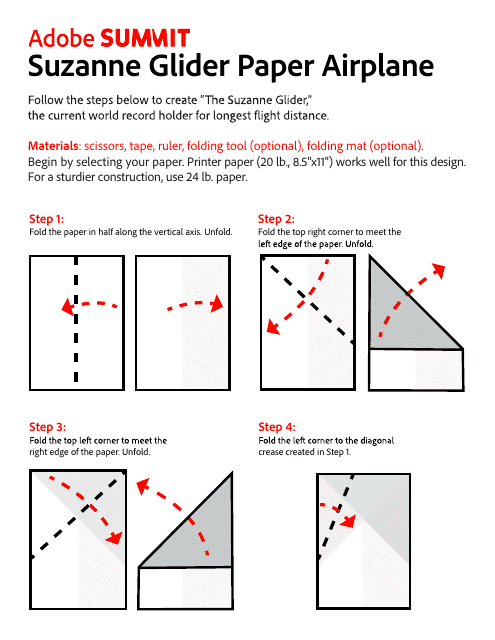
This document provides step-by-step instructions on how to fold paper airplanes. Ideal for craft enthusiasts, kids and educators, it features a variety of designs ranging from simple to complex models.
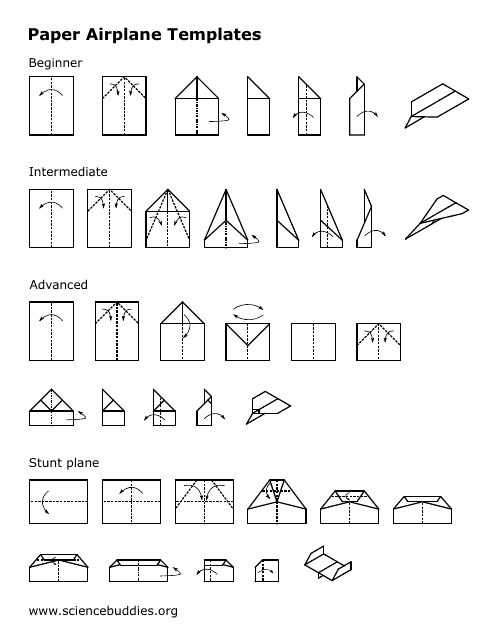
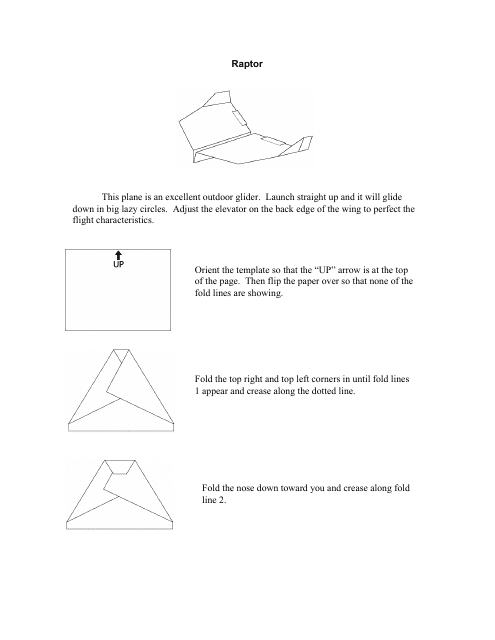
This document provides various designs and instructions for crafting paper airplanes. It's ideal for both entertainment and educational purposes, enhancing creativity and understanding of aerodynamics.
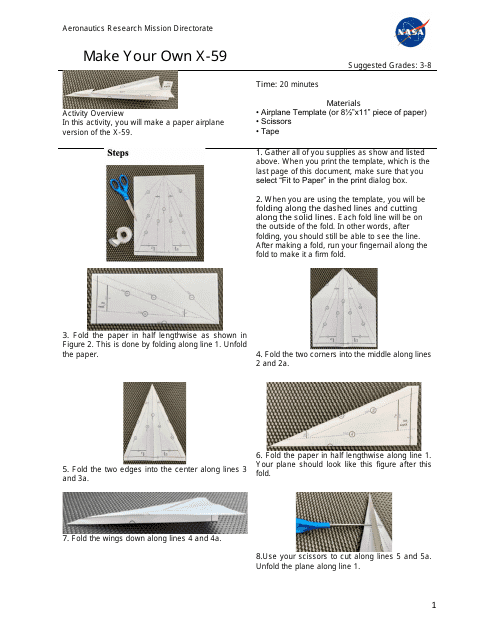
This document provides a paper model template for NASA's X-59 aircraft, allowing enthusiasts to create a scale replica using commonly available materials often found at home. Ideal for educators, students, or aircraft model hobbyists.
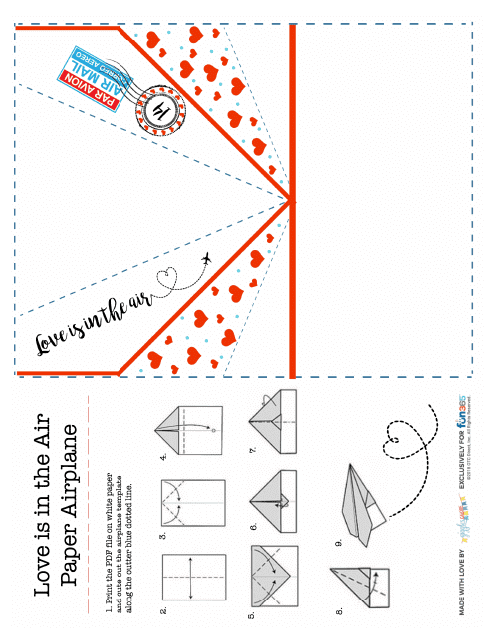
This document provides a template for creating a paper airplane with a love-themed design. It's suitable for DIY projects, kids' crafts and romantic gestures.

